Lesson 10: Advanced stacking
In 20G mode, movement is limited, therefore it is important to build a good terrain.
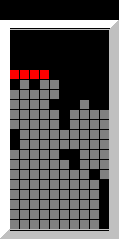
Lesson 6 showed that the fifth columns is the best for this.
Keep room on the right for the I
 |
→ |
 |
 |
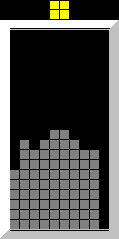
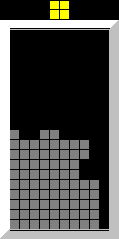
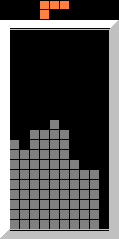
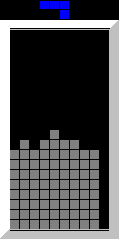
There need to be 2 rows empty in the 9th column to place an I in the tenth column.
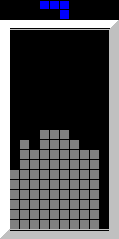
That is why we place the T as such and not in the ninth column. |
 |
→ |
 |
 |
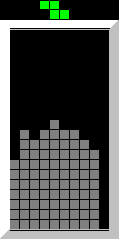
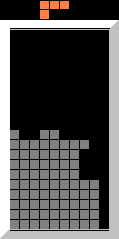
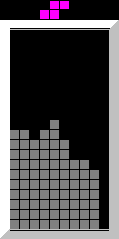
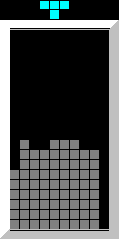
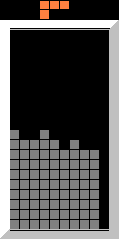
The hole left here can always be filled by a J, and we have an I next. |
 |
 |
 |
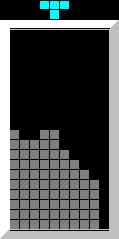
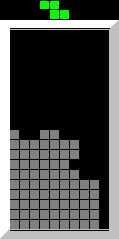
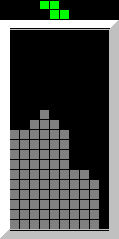
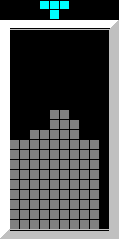
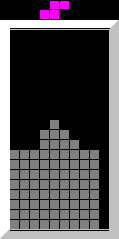
These are all ways to fill up holes left to keep room for the I. |
 |
 |
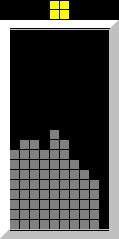
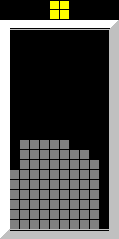
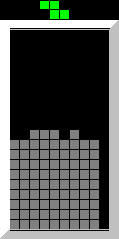
These are also useful for this purpose. |
 |
This is how you should rotate a T into place. |
 |
 |
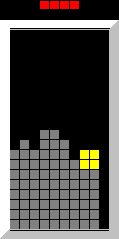
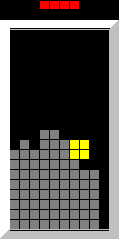
Here's how to hook blocks onto something |
 |
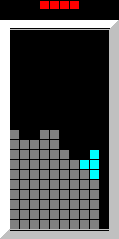
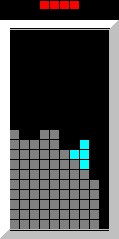
in this case, this is the best place for the Z.
The hole left can be filled by 2 blocks, but keeping room for the I is more important. |
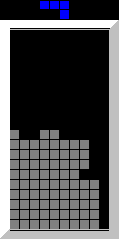
Keeping room for the I on the left.
 |
The I needs a 3 x 2 space on the left, like this.
The O is most useful for creating a stage for this. |
 |
 |
Putting these blocks in any onther way would block the upcoming I. |
Waiting for a block
 |
 |
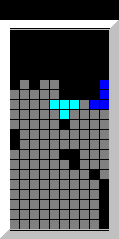
Like this, you can leave a hole for the S to fill using a wallkick later. |
 |
 |
The J and L can be put vertical like this to leave room for something.
|
 |
 |
given a 3 x 2 hole you can wallkick a J or L into it. |
Compromise
It is inevitable that you sometimes have to place a block in a sub-optimal position. You should not try to let the block fall in the fifth column.
 |
→ |
 |
 |
 |
You can fill a hollow place to not heighten the stack. |
 |
→ |
 |
 |
A less obvious example, note that it leaves place for an S. |
 |
→ |
 |
Another case of not increasing the height. |
 |
→ |
 |
 |
In this case a J and a T would partially solve the problem, therefore it is important not to let the I fall into the middle. |