This is of course hard when there are more lines.
Lesson 4: Recovery
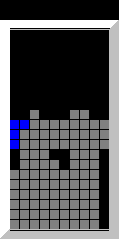
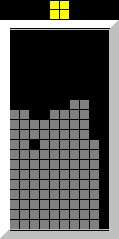
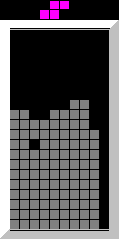
Blocks on top of holes.
|
Recovering is done by removing all the lines that cover the hole. This is of course hard when there are more lines. |
 |
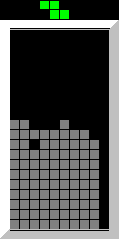
→ |  |
 |
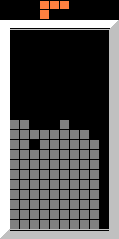
→ |  |
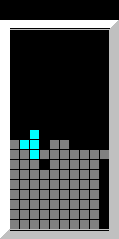
It is important to try to give yourself access to the hole after recovering. |
 |
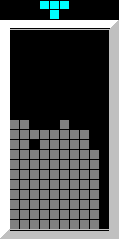
→ |  |
 |
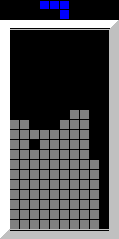
→ |  |
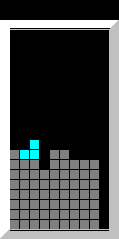
Lesson 2 has shown that S and Z are often used to fill 2 columns. In this case, you should use a T instead. |
Recovery by clearing lines
 |
 |
 |
 |
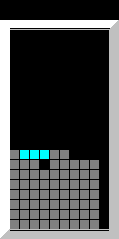
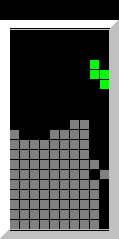
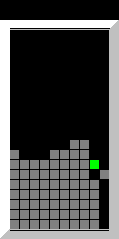
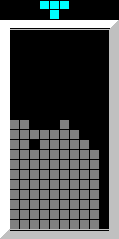
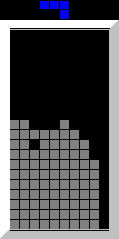
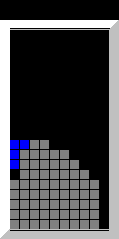
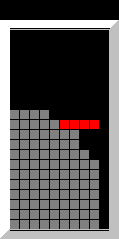
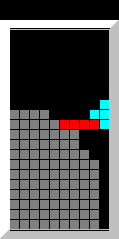
These are examples of recovery by clearing a line. |
 |
 |
 |
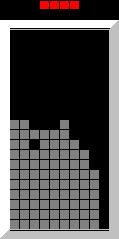 |
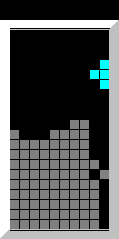
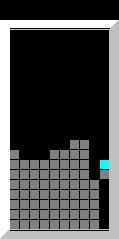
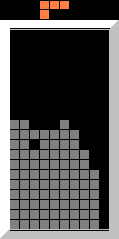
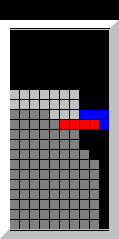
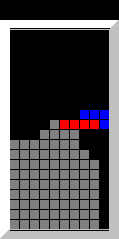
More examples of the same. |
 |
 |
These are examples of recovery by clearing two lines. |
 |
→ | 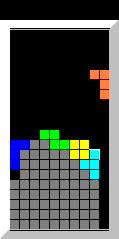 |
3 lines can only be recovered by providing a place for the J or L to hook onto. |
Using a misdrop as a floor.
 |
 |
You can use a missed I as a floor. Using a T for this will leave a gap. |
 |
 |
Therefore it is better to use a L or J. They can be cleared away neatly. |
| Previous lesson | Next lesson | |
| Top level |